Fourth grade is where multiplication strategies really get interesting. There are so many new strategies being taught to kids about how to do multi-digit multiplication. This is one of the most difficult concepts that your child will master in fourth grade. It is also such an important building block for their future math learning. In 4th grade, teachers get between 5 to 10 days to teach multi-digit multiplication. This is really not enough time for most of the children to master the skill, so it is great that you are helping them practice at home. It is also important that you are on the same page as the teacher, when showing your child strategies and using mathematical vocabulary.
Algorithm
I am going to start out by showing you the simple algorithm step by step. More than likely this is how you learned to multiply.

I've broken this down into two parts so that I can explain each step a little easier.
Step 1: The first step that you want your child to do is to multiply the ones place of the top number and the ones place of the bottom number. You want to make sure that your child is carrying over any digit that is not in the ones place. The 2 of the 24 is really a 20 because of its place value. It is important that your child understands why they are doing what they are doing. You can explain to your child that they need to carry that 20 to the tens place. (above the 5)
Step 2: The next step is to multiply the tens place in the top number by the ones place in the bottom number. In this case, 5x4. This is a really hard step for kids to understand, so they may need some help remembering this part. Also shown in this step, they cannot forget to add the two that we placed up there from the first step. This gives them the total of 22. (Which is really 220 because the 5 is in the tens place.) Usually when I am teaching my students, I tell them to only work with one of the bottom digits at a time. I have my students cover up the digit in the tens place of the bottom number. I tell them not to use it until they have finished using the digit in the ones place, then we switch and cover that one up.
Step 3: This is one of the most simple, but most missed step. You have to make sure that your child remembers to write down the place holder zero. I always called it the place holder zero in my class because it gave the zero a clear purpose. Your child needs to understand that the reason they are putting the zero is because they are now multiplying with a number in the tens place. In the problem shown above the 3 is really a 30. Also during this step, have your child cross off the number that they carried over during the first part of the problem. This step prevents confusion as they continue to work the problem.

Now for the second half of our problem.
Step 4: In this step, your child should be multiplying the ones place of the top number and the tens place of the bottom number. Once again, this resulted in a number that will not fit in our problem. Instead of the 1 representing 10 this time it really represents 100. The multiplication problem that was just completed is 30x6 which equals 180. The eight should be written down and the one gets carried over to above the 5.
Step 5: For this step, your child will be multiplying each number in the tens place. Do not let them forget to add the one that was carried over in step 4.
Step 6: Add our two products together to get a complete product. This step should be fairly simple.
One of the best ways to have your child practice the algorithm at home, is to complete a problem incorrectly and have your child find the error. For example, you don't put a place holder zero, you don't carry over your number when multiplying from the ones place, you forget to add the number you carried over, etc. This is a great to ensure that your child truly understands the process of multiplying using the algorithm.
I really hope that this explanation was not super confusing. The goal of these posts is to help you help your child at home.
Lattice
This next strategy that I am going to show you is called lattice. This strategy is not relatively new but it can be confusing to teach, especially if this is not something that you were taught. Our problem is 54x36.

Step 1: The first step is setting up lattice. It does not matter which number is on the top and which one is on the side. You will begin by drawing a box. This box is split into 4 smaller boxes because the problem is a two digit by two digit multiplication problem. If it were three digit by two digit, there would be six boxes. (4 digit by 2 digit would have 8 boxes, etc. Next, there should be a diagonal line cutting each of the boxes in half. These lines are supposed to extend outside of the original box.

Step 2: Now that you have your box set up, you are ready to begin multiplying. I started with the top corner in the example, but it does not matter which box you start in. The problem that needs to be done here is 5x3, which equals 15. As you can see in the example, only one number can be written in each triangle. The 15 was split in the first box.


Step 3-5: Continue doing what you did in the first box into each additional box. Step 3 shows 4x3, step 4 shows 5x6, and step 5 shows 4x6. Each of these should be basic multiplication problems. In my example, all of the multiplication problems resulted in two digit answers, 12, 30, and 24. If they did not come out to a two digit number, you would write a zero in the tens place. For example, if step 3 had been 4x2, then you would write 08 in the box.

Step 6: This step is probably one of the more confusing steps of lattice. Now you are going to add each section to find your answer. This time order does matter. You need to start with the bottom right triangle. This triangle doesn't get added to anything else. This is the ones place. The next part is highlighted to show you what to add together. 0+2+2= 4. This piece gave us the tens place. The next part is not highlighted to show differentiation. 3+5+1=9. And last but not least the top left corner is also by itself. This will give you the answer of 1944.
Partial Products
This strategy is one of my personal favorites and it is fairly simple. This strategy is exactly what it sounds like, you are going to break apart the original problem, find parts of the answer, and combine the parts to find the whole answer.
Step 1: The first step of the partial products strategy is to split up the numbers that you are multiplying. Let's practice with 42x38. Your child is going to split apart 42 into 40 and 2. Next, they will split apart 38 into 30 and 8.
Step 2: I always had my students set up all of the problems before they started multiplying to ensure that they did not miss anything. The multiplication problems that your child should be doing are 40x30, 40x8, 2x30, 2x8. A common mistake that is made while using this strategy is to multiply either the 40x2 or 30x8. These numbers should not be multiplied together because they were part of the same original number.
Step 3: The next step is to multiply all of the problems that you just created. 40x30=1200. 40x8=320. 2x30=60. 2x8=16. I always tried to teach my kids to work smarter not harder. When your child is multiplying with a number ending in zero they can multiply as if the zero isn't there and then add it at the end. For example, instead of doing 40x30, they can do 4x3 and then add the two zeros to the end of their answers. The reason that this works is that the zero is only holding the place value of the number. When it is multiplied by something else it will always equal zero, so there isn't a need to actually multiply by the zero. Keep in mind this only works when the zero is at the end of the number. This strategy would not work for a problem like, 209x3.
Step 4: The last step is to add all of the products of the problems together. I always told my students to only add two numbers at a time. When students try to add more than two numbers at once they tend to make mistakes. The problem should look like 1200+320=1520, 1520+60=1580, 1580+16=1596. Another thing you might want to suggest to your student, would be to do addition problems vertically. Even if they are written side to side, rewrite them. It will always be easier to line up the numbers when they are on top of each other.
Area Model
Area model is very similar to partial products. The main difference is that it includes a picture to help your child remember what multiplication problems that they should do.

Step 1: The first step in area model, is to set up the problem. When using this strategy, it does not matter which number is on top and which is on the side. There are two common mistakes when setting up this problem. The first common mistake is to forget to make the 3 from the 32 a 30. A lot of times my students would just split the number and write 3 and 2 at the top. (That will not work, it has to be split into 30 and 2.) The second common mistake is mixing up the numbers. The number that you split has to be on the same side. You can not split the numbers and 30 and 1 and 50 and 2. This will also result in the wrong answer.
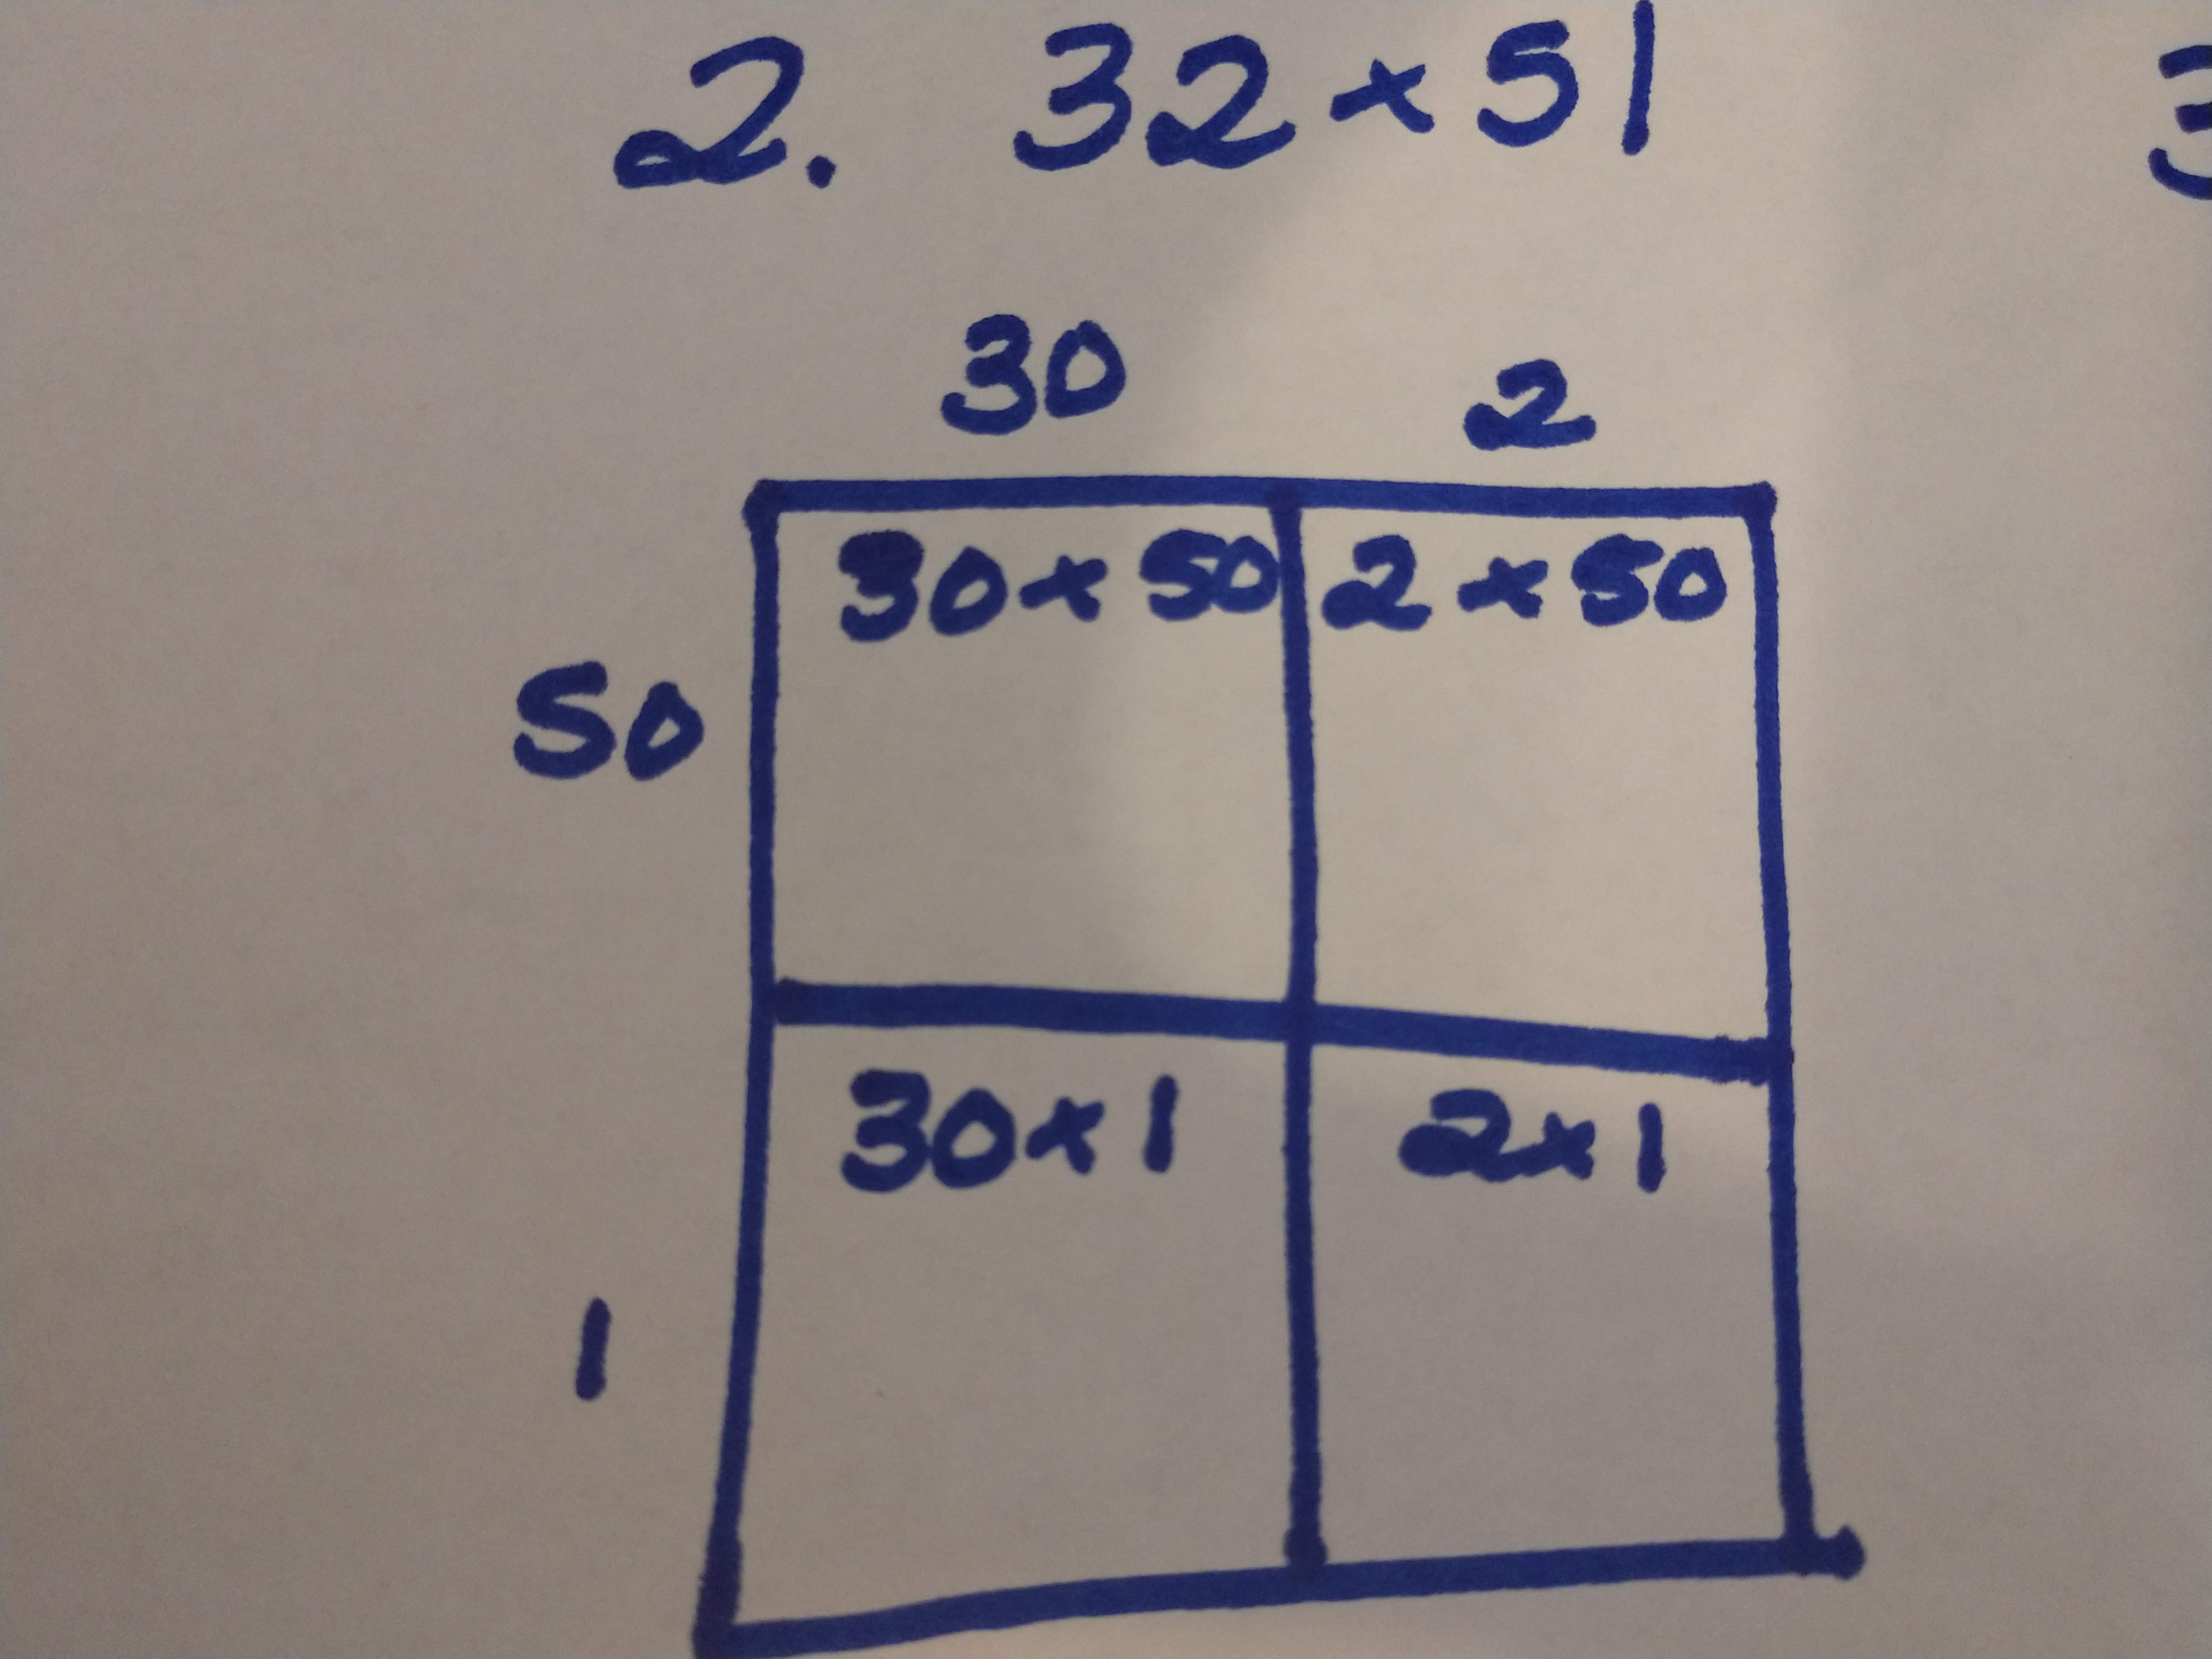
Step 2: The next step once again is to write out all of the multiplication problems that are going to be done.

Step 3: Just like the third step of partial products, your child needs to multiply all of the multiplication problems that they just created.

Step 4: Add together all of the products to get your final product.
Comments
Post a Comment